Showing posts with label create. Show all posts

Monday, 24 August 2015

My Favorite Craft Supply Shops

I always have people asking where I buy my craft supplies and what brand they are etc. Now, my craft collection has kind of just evolved and grown bigger over the years and I also get quite a lot of craft supplies as gifts - it might take a wee while to get started but I thought I would share with any of you who are interested about some cool places to buy craft supplies and grow your collection

The first and most obvious place I can think of is the craft isles in The Warehouse, there is Washi tape stickers and paper plus lots of tools and adhesives you can add to your collection. 
click here to check out their website

If you are looking for even more Washi tape take a look in Warehouse stationary they also have a lot of awesome stickers there too.
click here to check out their website

If you prefer online shopping I would definitely recommend Etsy because they have just about anything and its quite affordable.
click here to check out their website

Sometimes Whitcoulls has some stuff but it usually sells out pretty quickly.
click here to check out their website

That is the main places I know that sell craft supplies but you should keep your eye out because lots of places stock items but they are usually hard to find or they sell out quickly. You could also look at online shops and things like that because they can sometimes have really unique things, another idea is to reuse old things like packaging or wrapping paper or even the ribbons on presents.

Thank you for reading this post, if you have any questions or any other suggestions please ask in the comments section below.
bbyyyee!


Monday, 15 June 2015

What I use to Draw

When I draw I like to use good quality stationary because it is easier and it makes the finished product look better. Here is a a photo which shows the things I generally use to draw my drawings.
Here are the brand websites if you would like to check them out Faber-Castell and Reeves
These things I find work well for what I use them for and they are very good quality for the price that they are.
I really like the Faber-Castell pencils because they sharpen easily and the pencil led does not break, I also really like the quality of the Faber-Castell erasers as they rub out pencil so well and they also don't leave any smudge marks or discoloration on the paper after you have rubbed something out. I also really like the quality of the Reeves pencils and the variety of shades they come in and I really enjoy using the Reeves pencil sharpeners as they are nice and sharp and they don't break the pencil led.

Thankyou for visiting my blog and I hope this helped you or gave you ideas on any brands you could take into consideration when shopping for drawing tools and accessories.
Bye Bye :)

Sunday, 24 May 2015

DIY Cute Paperclips


 Here is a really simple and quick way to make super cute paperclips to put in your planner or diary or really anywhere.

Here is what you will need:


To start of our first paperclip take your embellishments, here I am using these cute roses that have an adhesive backing on them, and you will also need a paperclip.

Simply peel off your embellishment and stick it onto your paperclip

To finish off you may want to take a small piece of Washi Tape and cut it into a circle and stick it on the back to make a nice clean finish, and you're done.

The next clip is a little bit trickier but I think you'll manage.

Take a medium sized strip of Washi Tape and also a small strip cut in half down the center.
Fold the longer strip in half so it is double sided and not sticky, then fold both the ends into the center and take one of the smaller pieces of Washi Tape and while pinching the center of the Washi Tape to form a bow shape, start wrapping it around to secure it.

Once it is wrapped like this put the paperclip in and feed the tape through the center of the paper clip and continue wrapping until you reach the end of the tape.

They should end up looking like this:


Here is the completed paperclips, you can use all kinds of coloured Washi Tape or different embellishments to make lots of different variations.

I hope you enjoyed this DIY and also I hope you didn't find it to confusing.
If you have any questions please leave them in a comment below and I will try to get back to you as soon as possible.
Bye Bye

Sunday, 17 May 2015

My New Planner DIY

My planner will end in July so I have started to make my new one for August through to December 2016. My inspiration was bright pastel colours and kikki k personal planners. If you didn't already know kikki k planners are on the pricey side so I decided that I would create my own.

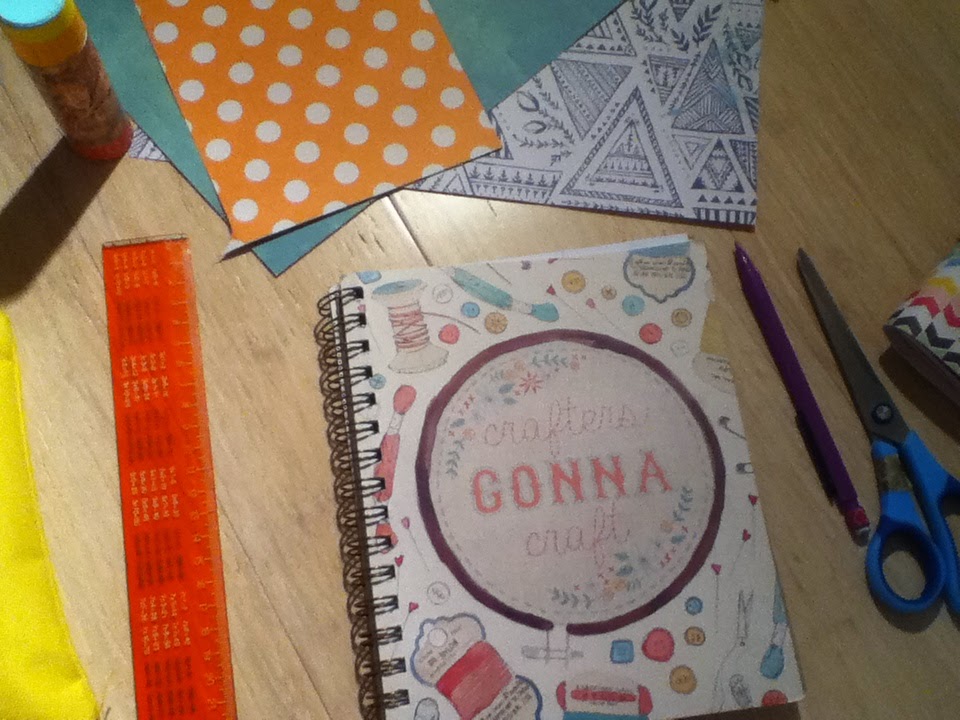
Here is what you will need to create a planner like mine or even completely different.

also you will need a lot of different coloured paper in all different patterns and textures.

This was the book that I used, it is a Typo notebook with plain lined pages and three dividers spread through the book.

The book cover is layers of card paper glued together and shaped how I liked it. I planned to make the book with a clip closure and this is how, once I had made the cover I cut a hole in the cover where I wanted the clip and then inserted the clip closure and taped it on the inside cover before covering the taped areas with patterned paper.

This is the inside cover of my planner it has some pockets and spaces to put various stickers and inserts. I then covered the front cover of the book itself in paper and added a label with my name on it and some other cute stickers.


I then started to draw in the planner pages. although this takes a long time and it is pretty frustrating it is totally worth it in the end, and you can make each page to suit you.

I then added tabs for each month so the page was easy to find. To attach the book to the cover I wrapped a piece of card paper around the back cover of the book and then glued the paper to the cover, the book can come out if I need it to but it is still very stable and it won't go anywhere.

This is all I have done so far but I will update you when I do more work on it,
thank you for reading and I hope I gave you ideas or inspiration to create your own planner.
If you have any questions on how I made something please ask in the comments section and I will try to get back to you.
Bye Bye.