Showing posts with label scrapbooking. Show all posts

Sunday, 17 May 2015

My New Planner DIY

My planner will end in July so I have started to make my new one for August through to December 2016. My inspiration was bright pastel colours and kikki k personal planners. If you didn't already know kikki k planners are on the pricey side so I decided that I would create my own.

Here is what you will need to create a planner like mine or even completely different.

also you will need a lot of different coloured paper in all different patterns and textures.
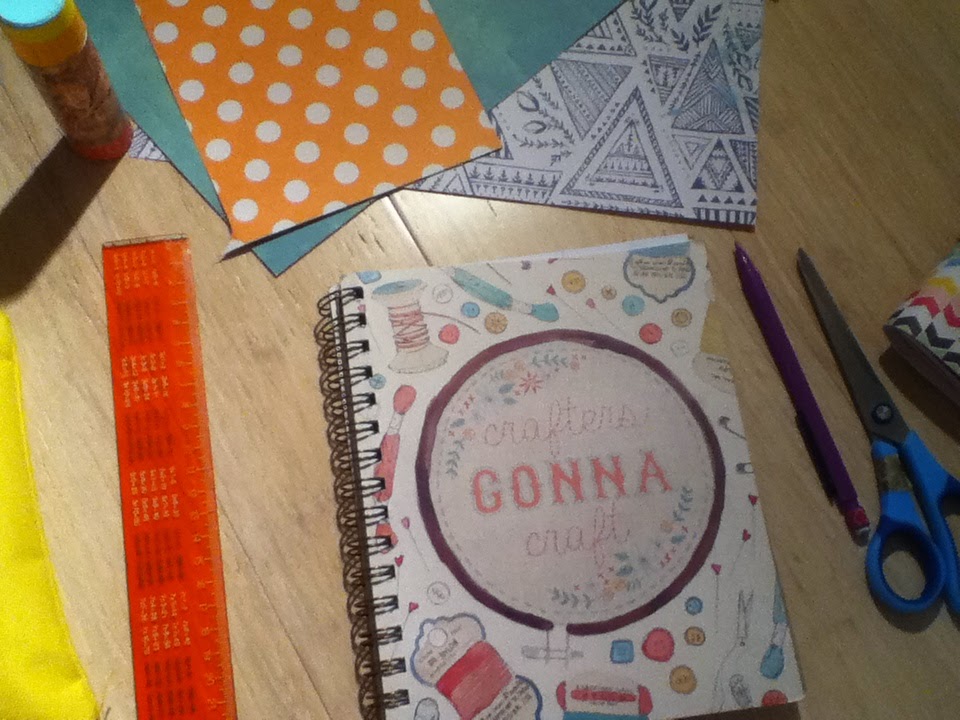
This was the book that I used, it is a Typo notebook with plain lined pages and three dividers spread through the book.

The book cover is layers of card paper glued together and shaped how I liked it. I planned to make the book with a clip closure and this is how, once I had made the cover I cut a hole in the cover where I wanted the clip and then inserted the clip closure and taped it on the inside cover before covering the taped areas with patterned paper.

This is the inside cover of my planner it has some pockets and spaces to put various stickers and inserts. I then covered the front cover of the book itself in paper and added a label with my name on it and some other cute stickers.


I then started to draw in the planner pages. although this takes a long time and it is pretty frustrating it is totally worth it in the end, and you can make each page to suit you.

I then added tabs for each month so the page was easy to find. To attach the book to the cover I wrapped a piece of card paper around the back cover of the book and then glued the paper to the cover, the book can come out if I need it to but it is still very stable and it won't go anywhere.

This is all I have done so far but I will update you when I do more work on it,
thank you for reading and I hope I gave you ideas or inspiration to create your own planner.
If you have any questions on how I made something please ask in the comments section and I will try to get back to you.
Bye Bye.


Tuesday, 12 May 2015

My Planner

One of my favourite ways to keep organised is to use a planner. I wanted it to be completely personalised so it would work for all the things that I would use it for, so I decided to make my own and I would like to share it with you and maybe inspire you to make your own.

This is the cover page of my planner, it is made of card covered in scrapbook paper and it is held closed with and elastic string and a button. The cover is not attached to the actual planner book but I made it to keep my planner protected and clean.


On the inside cover is a pocket for sticky notes or things like that and on the right is where the actual planner book starts and as you can see it has my name on it.


This is a page where I can put things like pictures or drawings or other things to keep me motivated and happy. To the right of this which I haven't shown is some of my personal information just in case I lose my planner.


I have a pocket to keep things like stickers and inserts, stuff like that. This way it keeps things from always falling out and I know exactly where to find them.


For each month I have a title page with a tab so I can find my place easily. 


This is my month overview, I drew it up using a black pen and a ruler then I wrote all the dates in. This part does take a while but I think its totally worth the effort.

I do only use a monthly overview because it works best for me but if you decide to make a planner you can choose how you want yours to be laid out.


After the month overview is a to do list and a notes section.


I also have other tabs such as a today tab for any reminders or sticky notes for that day.


and a recipe tab where I write down recipe ideas or recipes that I tried.


On the last page of the book I have some more pockets to put even more things.


and the back cover with my name on it and on the right another pocket for receipts and stuff like that.

That is what my planner looks like. I have really enjoyed making it and I hope you are inspired to make your own also. If you have any questions about anything such as where things are from or how I made something please comment below and I will try to get back to you as soon as I can.

Thank you